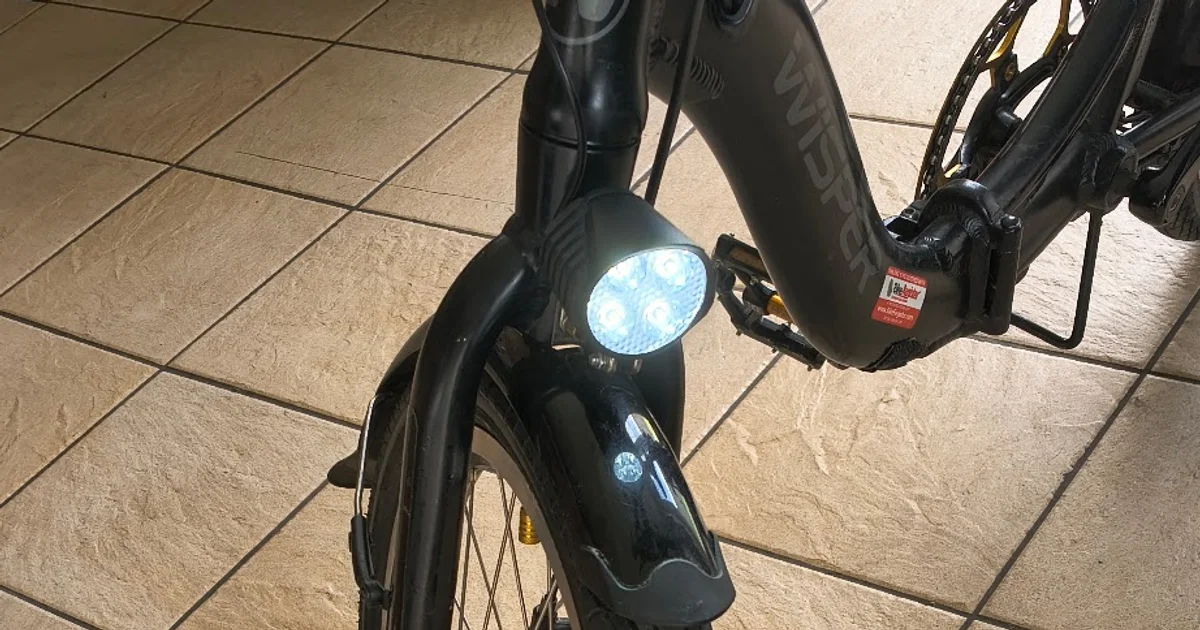
I use a Wisper 806 eBike - the legal version, 250W motor, 15.5mph cap, torque sensor - to commute once a week. It’s not a lot of miles: a 10 mile round trip on Mondays, bike to the station, train to Milton Keynes, then station to office and back again. Low mileage, but lately it’s been one thing after another.
First I got hit on a zebra crossing and the front wheel needed replacing. Then, a couple of weeks later, the front light’s connector finally gave up - and that turned into a much bigger job than I expected.
A Connector That Was Always Going to Fail
The original front light used a non-waterproof JST XHP connector tucked into the back of the light, relying entirely on being inset to avoid getting water in it. That might have been fine on a normal bike. On a folding one, every single fold puts a tug on the cable running to the light, and every tug is a chance to pull the connector half out - so I’d regularly have to fiddle with it to get it seated again before riding off.
Eventually a fold pulled hard enough to drag the cable clean out of the connector, leaving the connector body behind in the light. My first thought was to just solder the cable back on and crimp a replacement connector. But given the connector had already shown itself to be the weak point, I decided to replace the whole light with something properly waterproof instead.
Fitting the new light was straightforward: soldered joints, heatshrink over each one, and enough slack in the cable run through the frame that nothing would pull tight again when folded.
Then I discovered it didn’t work.
Diagnosing a Dead Light
A multimeter at the connector read 0V, but continuity testing said the wiring itself was fine end to end. That combination - good continuity, no voltage - points at the supply side rather than the cable, so I took the question to a UK eBike forum. The answer was grim.
It turns out the connector wasn’t the only questionable decision in this bike’s lighting. If the lighting wiring ever shorts, it can blow the transistor in the control module that switches power to the lights from the handlebar LCD unit. That failure can go one of two ways: the lights get stuck permanently on, or permanently off. Mine had failed off.
One forum member posted a diagram showing how to bypass the controller entirely and wire the lights directly, gated by a manual switch instead of the LCD unit:
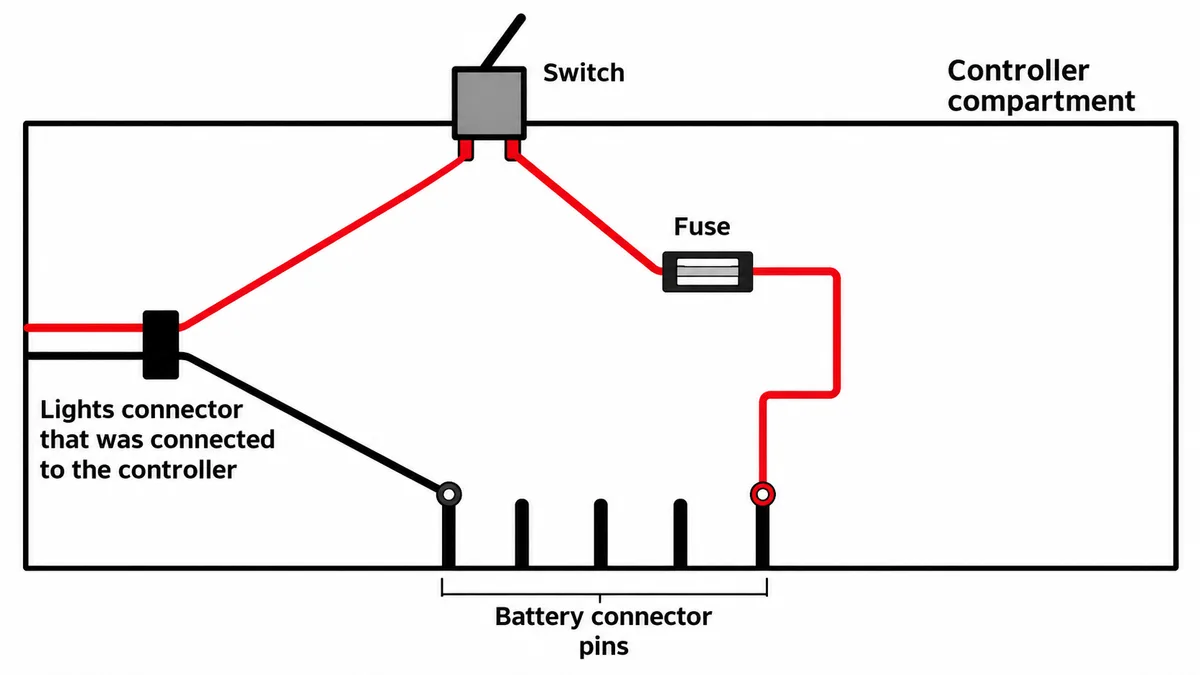
The trade-off is losing the LCD unit’s ability to turn the lights on and off - everything now runs through a physical switch instead - but it’s a solution, and a more reliable one than a controller with a dead transistor.
Wiring In the Bypass
The control box lives in a genuinely tight compartment right next to the battery, with barely any spare room. Fitting an IP-rated switch and an inline fuse into that space, without fouling everything else already packed in there, took some care, but it went in.
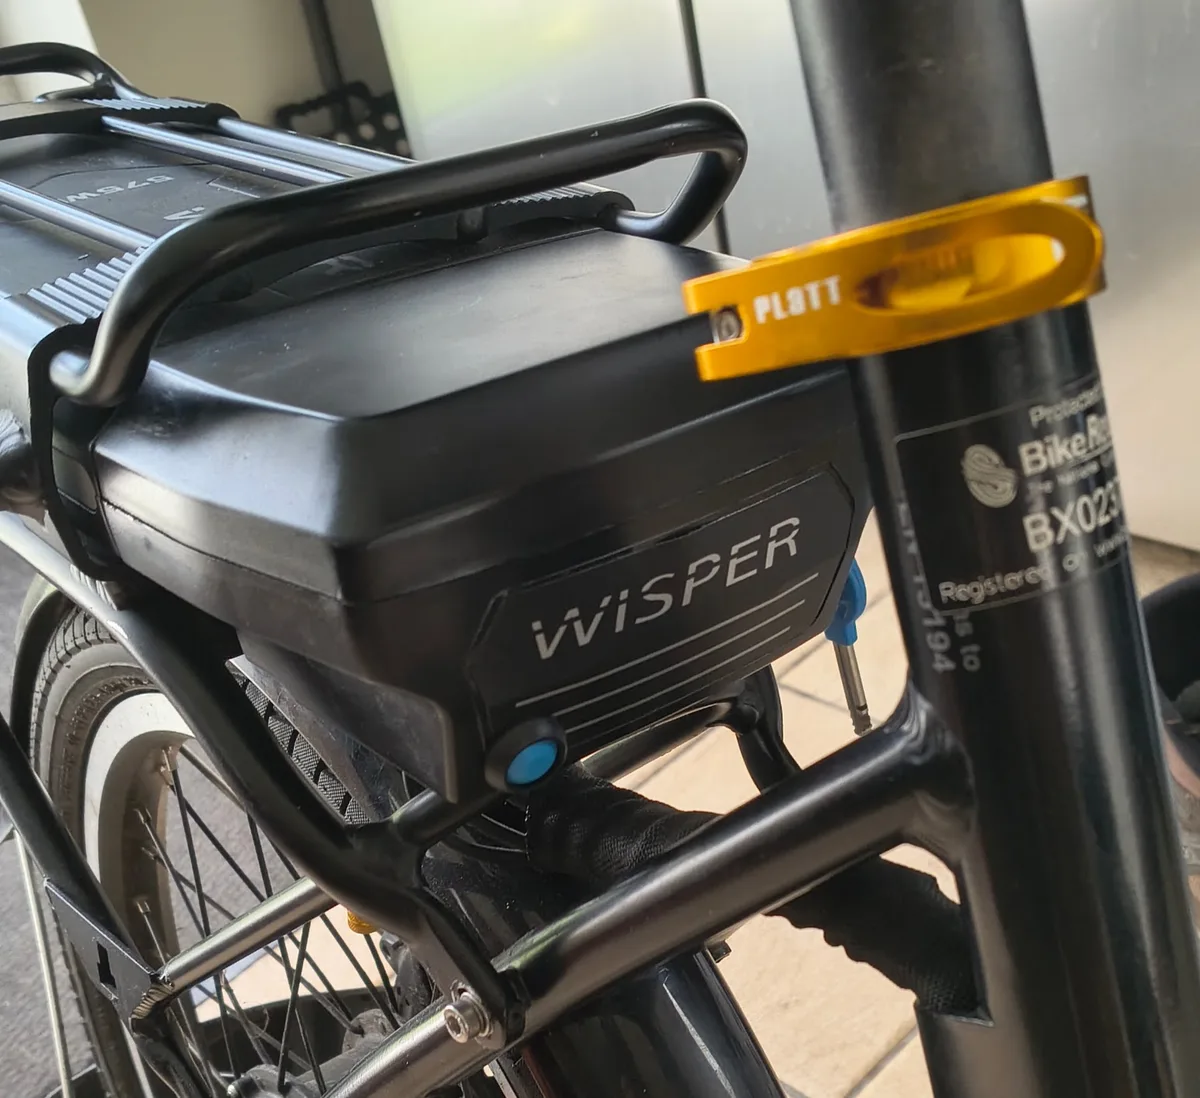
With the bypass wired, the front light worked. Then I found the rear light didn’t.
The Rear Light Was a Third Bad Decision
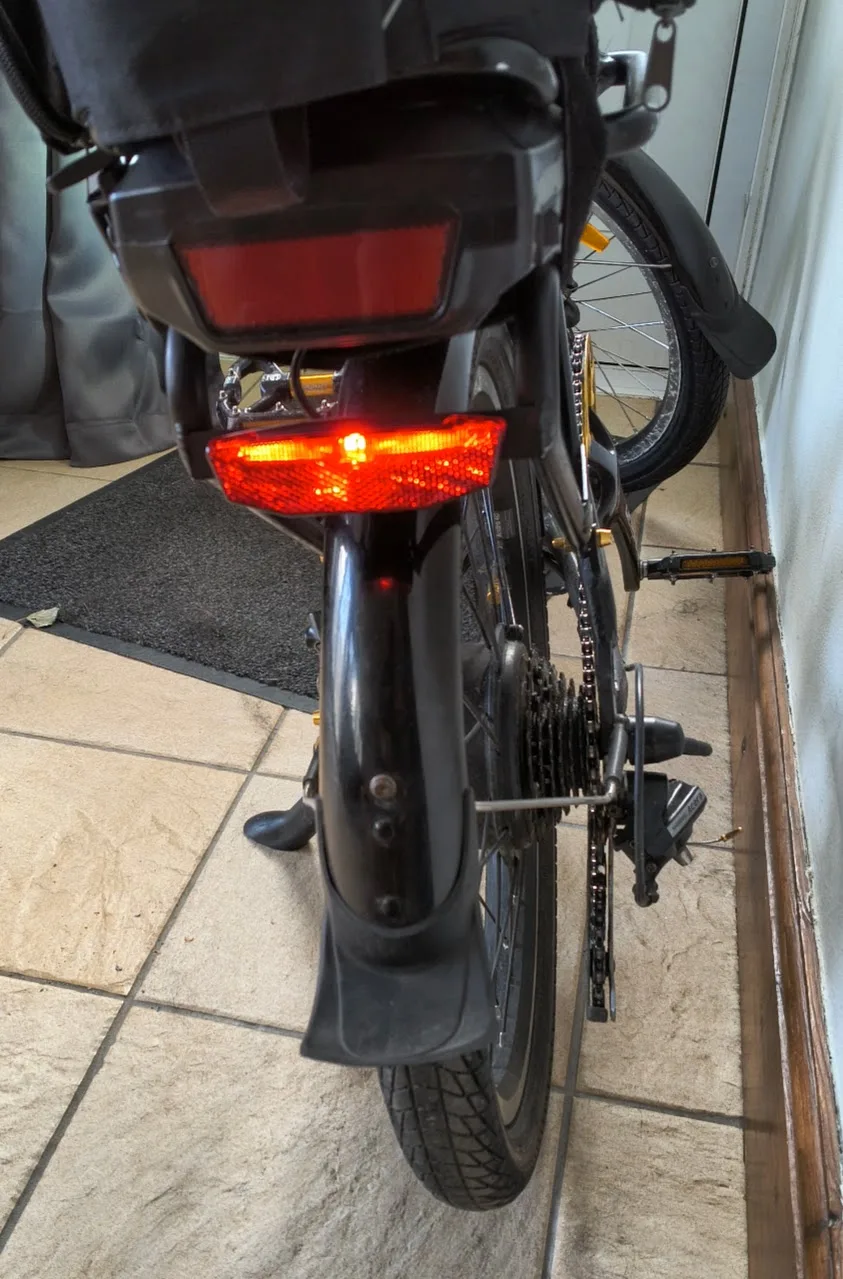
The original rear light was a 36V LED connected with bare spade connectors wrapped in heatshrink - not remotely water-tight, and not something I trusted to survive much more riding in the rain.
The replacement is a 20-60V LED with a proper waterproof connector at the lamp end, which covers the voltage swing of the battery regardless of charge state. The problem was the other end: it terminates in a JST SM connector for the controller side, and it was the wrong gender to mate with the bike’s existing loom.
That meant buying a JST SM crimping kit and fitting the matching connector myself. While I had the cable apart I also cut it down to a sensible length, so there’s no loop of slack cable left to tuck away somewhere it can rub or snag.
Where It Stands Now
Both lights are now properly waterproof, both connectors are soldered or crimped rather than relying on a push-fit JST XHP, and the controller’s dead transistor is no longer in the circuit at all - a physical switch does the job instead. It’s a less elegant setup than the bike shipped with, but it’s one that should actually survive being folded and rained on, which the original never really managed.